 Photos by: Don Creason, Kamdon Shaw, and William Redifer
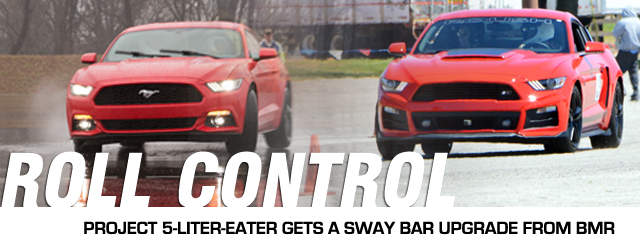
The new 2015 Ford Mustang continues to prove its performance value and show us just what it can do. If you’ve been following Project 5-Liter Eater, you know that within the five months we’ve had the car, it has been the focus of quite a few improvements, including: the removal of the clutch spring, the installation of Moroso’s ’15 Mustang Coolant Reservoir, JMS Chip upgrades, the UPR Dual-Valve Catch Can Oil Seperator, and SCT’s X4 Powerflash Handheld Tuner.
Project 5-Liter Eater is going to be handling daily driver duties and the ocassional track day, and we thought it could use a bit a help in the suspension department, so we turned to BMR Suspension, of Seffner, Florida to set us up with front and rear sway bars.
The SB043 Sway Bar Kit that we installed on our EcoBoost was designed by BMR Suspension for street performance, autocross, and road race applications. It features larger diameter sway bars that offer three positions to allow versatility in the form of driving to and from the track and outhandling the competition; and fits all S550 Mustangs.
Although our 'before' testing took place in the rain, our SCCA Instructor assured us that grip would not be compromised due to the skid-pad's construction and design. Further testing in wet and dry conditions at this facility backed this up. Check out the amount of front body roll as the car moves through the cones.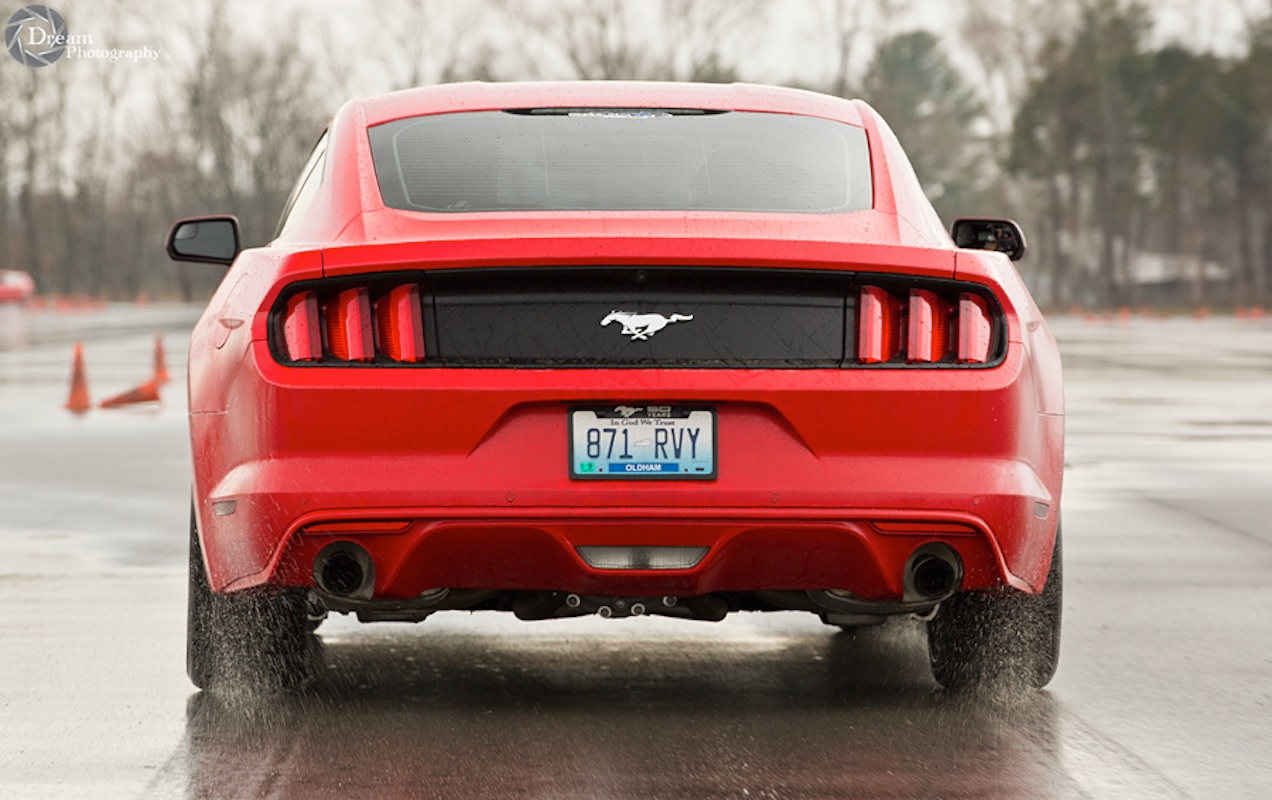


Installing UPR Suspension’s SB043 Sway Bar Kit is simple, and it’s just what our EcoBoost needed in the corners. Pictured here is the stock front and BMR bar for comparison.
The front sway bar included in the package allows for a 28 to 70-percent increase in sway bar rate over the stock bar, while the rear bar gives you a 63 to 208-percent increase in rate over the stock bar. What does this mean in relation to how it feels in the corners?
Well, rate increases and adjustability give you the opportunity to fine tune handling characteristics allowing you to dive into corners and minimize body roll, while the hollow design of BMR’s kit allows for loads of strength in the lightest possible package. As BMR puts it, the kit offers “increased performance with no sacrifices.” In layman’s terms, more sway bar control equals better handling.
We use high-quality, American-made DOM steel tubing for all of our sway bars. – Pete Epple, BMR


The Sway Bar Kit, part number SB043, from BMR is available in two finishes: Black Hammertone and Red Powder Coat. Each finish offers durability and will look good for years to come. Not to mention, this kit is proudly made in the USA, so you know you’re getting quality craftsmanship.
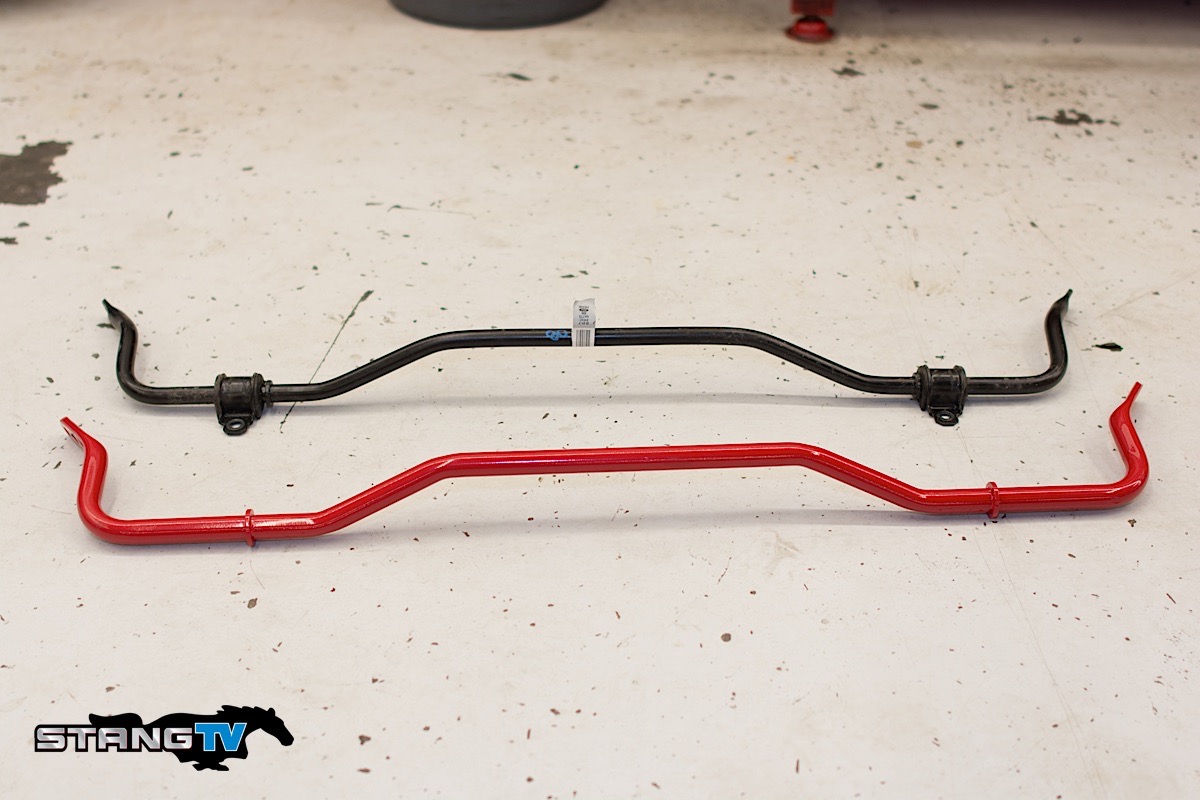
The stock and BMR rear bar pictured next to each other for comparison.
BMR Sway Bar Design Innovation
BMR’s SB043 Front and Rear Sway Bar Kit promises a design based on the individual vehicle’s weight, application, motion ratio, coil spring rate, and adjustability requirements. While stock sway bars offer low torsional spring rates and are manufactured from small diameter bar stock or tubing, BMR’s bars are better in that they’re created from heavy-duty 35mm (front) and 25mm (rear) DOM steel tubing, which is cold-formed to help resist torsional fatigue and retain its “memory” for a longer period of time than traditionally-created hot-formed bars. Exact manufacturing tolerances and consistently high levels of quality are made achievable through CNC manufacturing. The sway bars also feature zinc-plated inner sleeves and billet aluminum, black anodized bushings saddles.
“Once we have a baseline on the stock vehicle (including NVH levels, photos, video, track times, vehicle feel, etc.) we reevaluate every aspect of the suspension component and its affect on the car for each part tested in the baseline. We will spend anywhere from 250-2,500 miles on the street ensuring the parts are durable, quiet, and deliver the gains they are designed for. Once this is complete, parts that do not need to be track tested are ready to be released, and parts that need testing in a more controlled environment are taken to the track.”
“Our testing process relies heavily on video footage of the parts in their natural environment being pushed as hard as possible. Once the parts pass this stage of testing they are ready to be released. This allows us to offer street and track tested parts that will perform flawlessly at any level.”


Left to right: Remove the end links, driver's side tie rod (not necessary with the EcoBoost), radius rod bolt, and sway bar saddle bolts, before pulling the OEM sway bar out of the driver's side wheel well.
Install Time
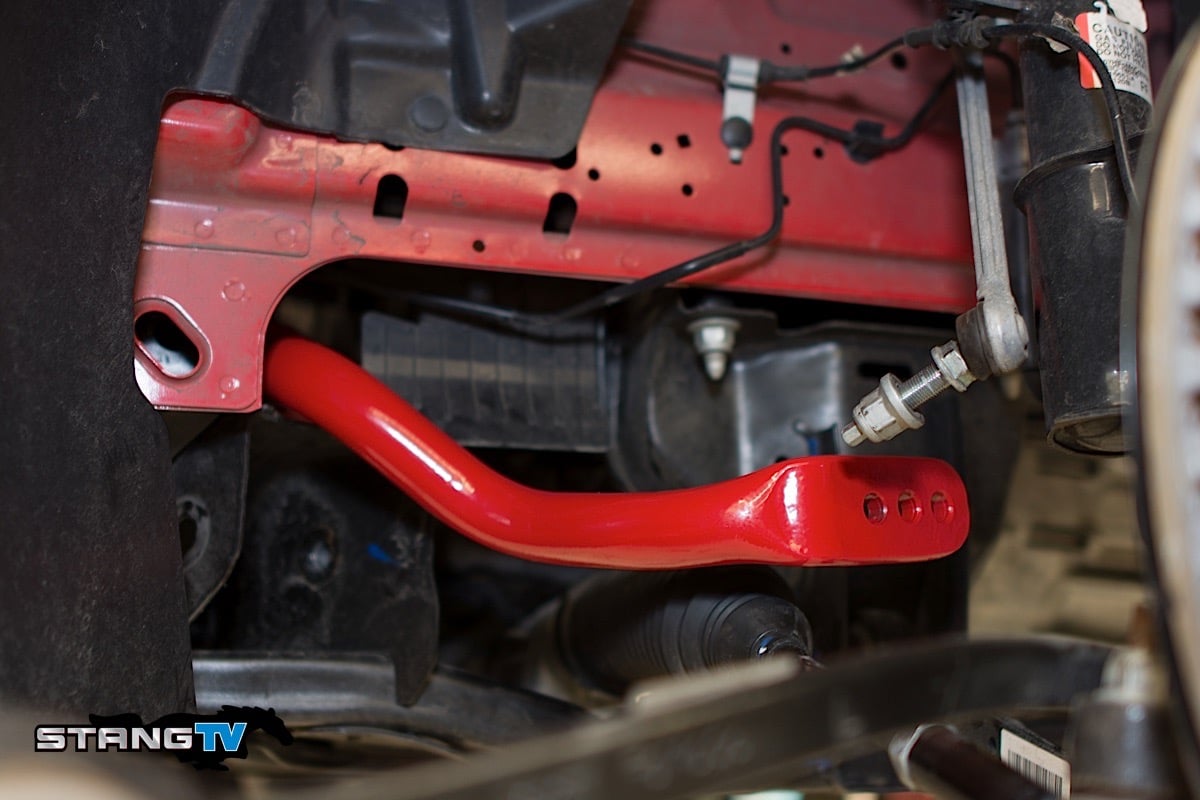
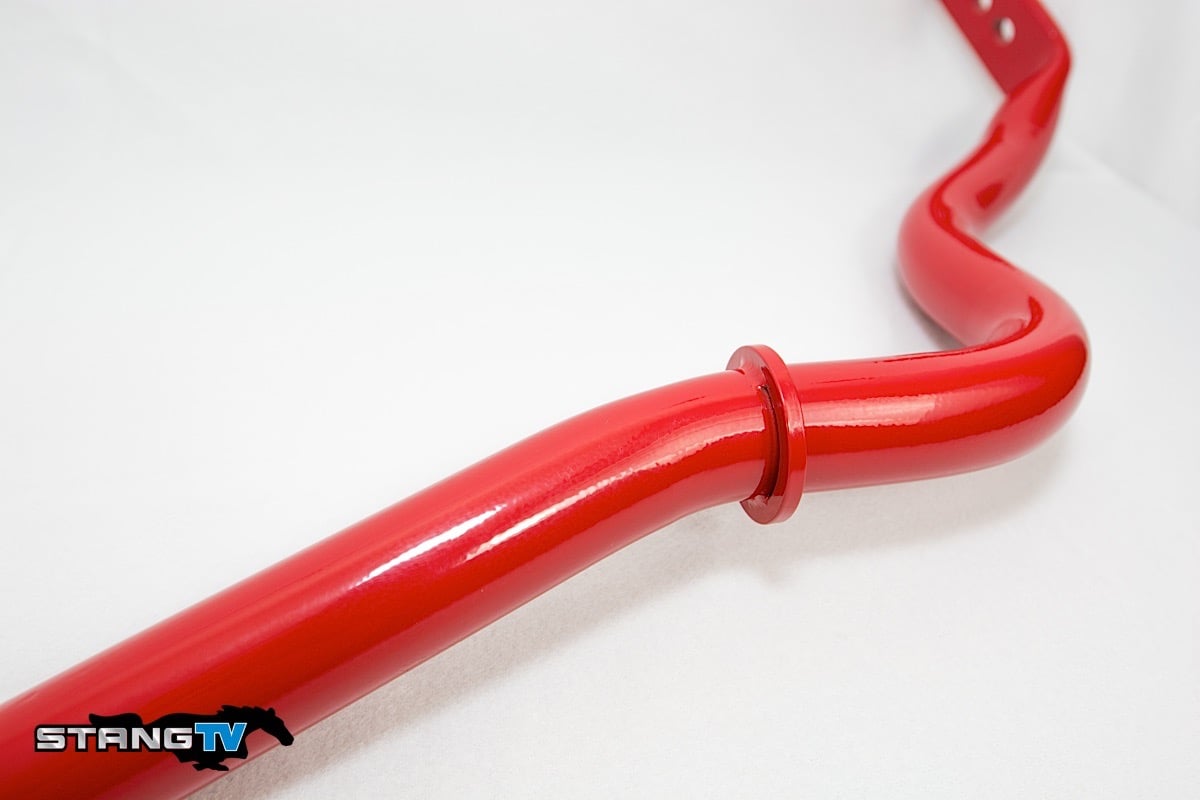
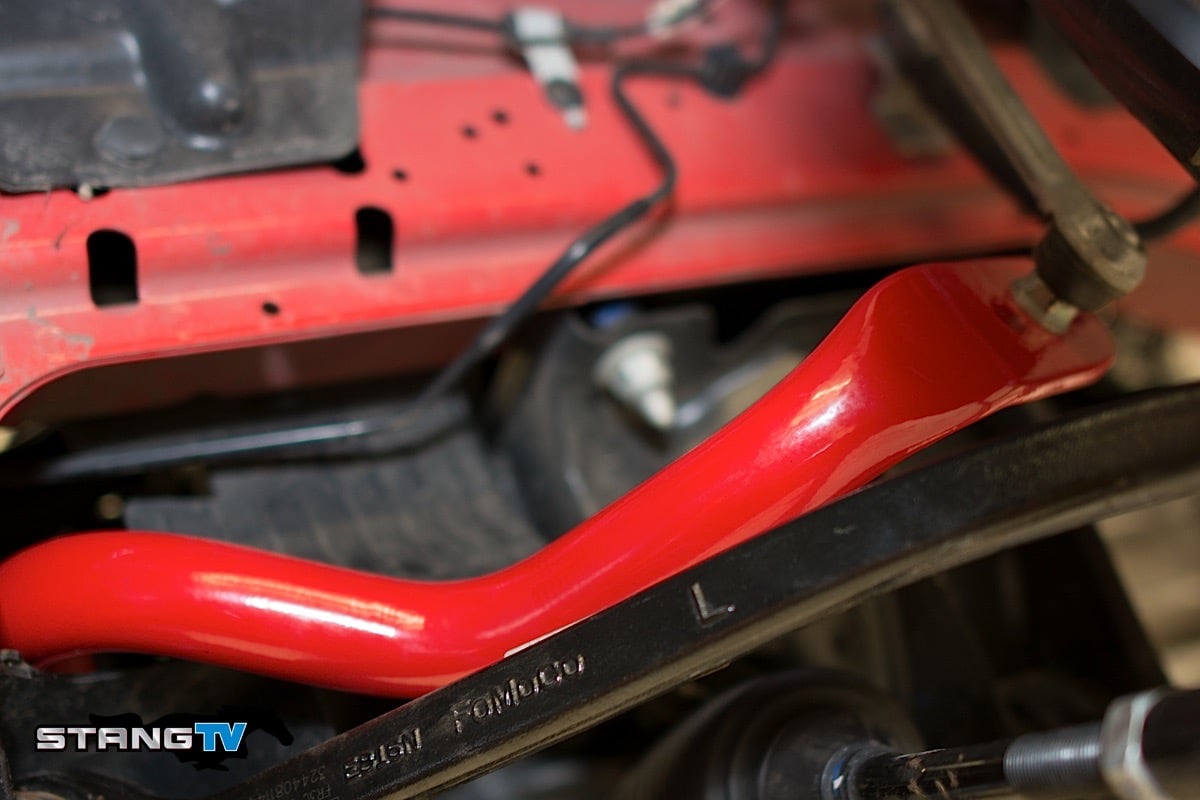
Rotating the new sway bar as necessary until it is in position, it is possible to install it upside down, but it will not fit properly. When it is installed correctly, it will look like this.
We chose the red finish for our application and got to work installing the kit, which only took us two hours. This installation was super simple, so follow along as we explain it step-by-step. Keep in mind that there was a very limited removal process prior to installation, which is convenient.
The alternator and outer tie rod end did not have to be removed in our EcoBoost, as the engine sits back further in the bay than the 5.0-liter does. This means it was a bit easier for us to work around than it would have been in an S550 equipped with an eight-cylinder.
To complete this installation, you will need a hydraulic jack and jack stands (or a lift), the following wrenches and sockets: 7mm, 10mm, 13mm, 17mm, 18mm, and 24mm, as well as a 10mm Allen socket, 6mm Allen wrench, a long extension for the sockets, a flat head screwdriver, and a tie rod removal tool (if you don’t have access to one, a brass hammer will do).
On the front, we had to remove one wheel, take the links off the front, and disconnect one radius arm, before pushing the strut and knuckle back and out of the way to swap them out. Keep in mind that although we had a lift to help us out, this installation can be done in your garage–just be sure to have room to slide the sway bars out!


Installing the BMR sway bar on the front is pretty much the reverse of the removal process. Some twisting and maneuvering is required. We started our bar off on the middle setting, and may eventually increase to the most forward setting should we deem necessary.
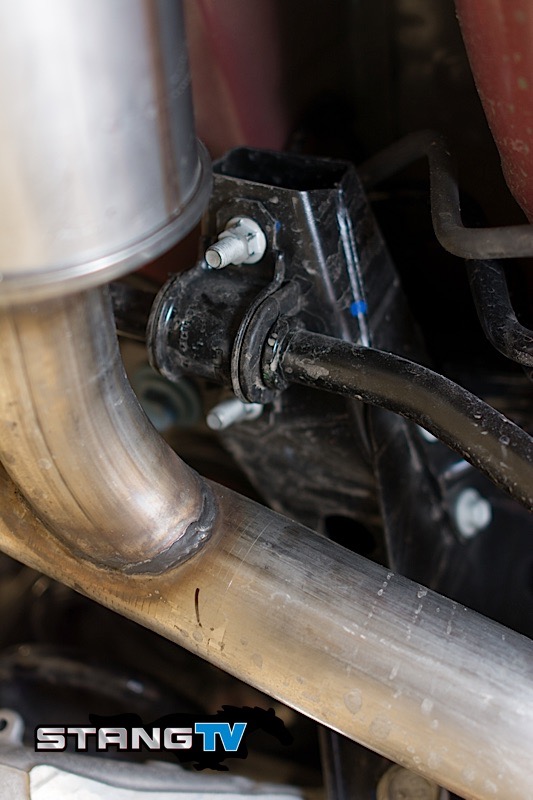
Aftermarket axle-back exhaust can make for tight clearance to remove the rear sway bar brackets.
With the front sway bar installed, you can turn your attention to the rear sway bar.
The rear is even more simple than the front to install. Aftermarket mufflers can make it a bit more complicated, but there’s much less work here than is involved on the front.
There is one key step to pay careful attention to on the rear installation. To re-use the brake hose brackets on your BMR sway bar, rotate the bracket and mount it. Tighten the end link nut using your 6mm Allen wrench and 18mm wrench, before tightening the 10mm brake hose bolt. Using a grease gun, lube the polyurethane bushings with synthetic grease. Finally, lower your Mustang.
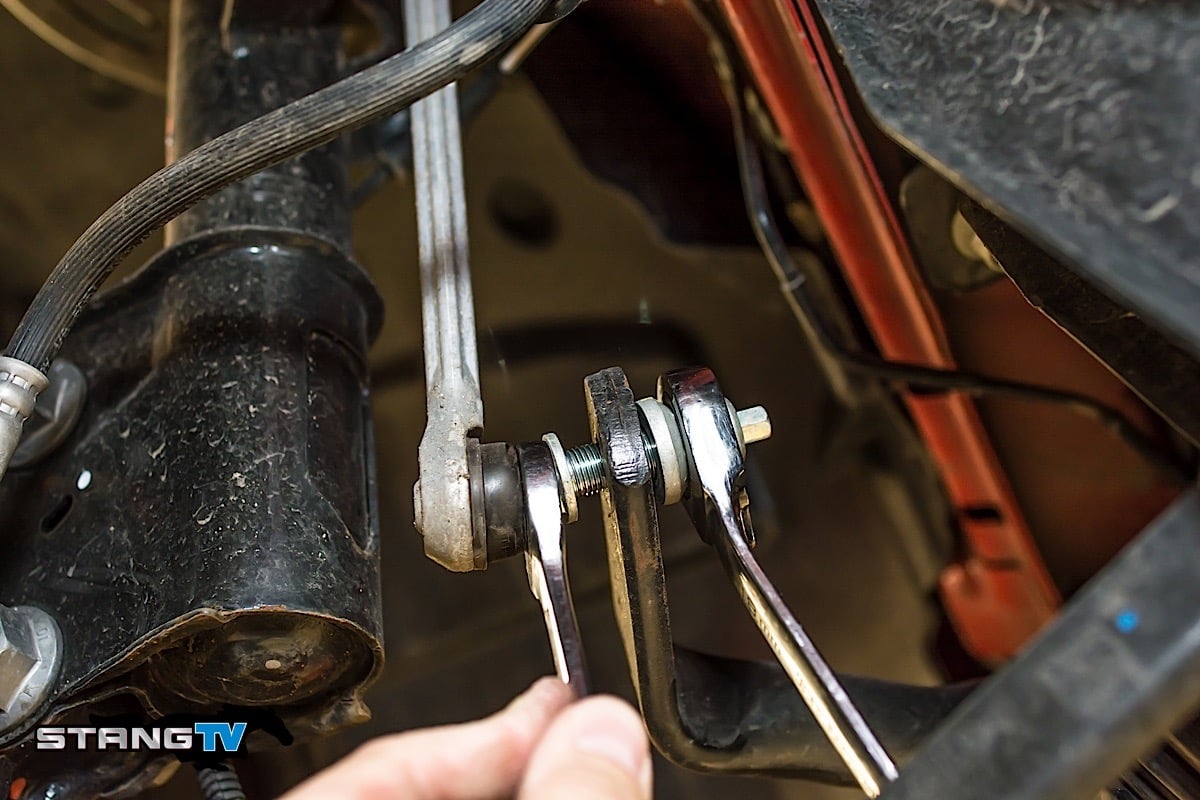
Our EcoBoost is equipped with ROUSH mufflers, so we had to use box wrenches to get the rear sway bar brackets off. Keep in mind that aftermarket mufflers may need to be removed or will require more working around to complete the swap.
The rear end links require the use of an allen head and a box wrench to remove. You will need to re-orient the brake hose brackets per BMR's instructions to make them work with the new sway bars.

The finished product will look like this.

Putting it to the Test
With the installation complete, we loaded up the car and brought it back down to NCM Motorsports Park in Bowling Green, Kentucky, to get some final numbers and see if the BMR Sway Bars could live up to the hype. Since this was the only modification performed in between the two tests, and we tested on the same skid pad both times, with the same set of tires, we can give testing outcomes with certainty.
Our testing process relies heavily on video footage of the parts in their natural environment being pushed as hard as possible. – Pete Epple, BMR
The car felt good, much better than other previous generation Mustangs, and it stuck very well in the corners. However, with the OEM parts, we still noticed considerable body roll, especially in the front, there was enough roll to lift the inside rear tire in the slalom, causing the car to three-wheel. With the traction control enabled this often caused the car to quite literally go crazy as the traction nannies scrambled to reel in what it they thought were a car about to crash, taking more control away, and causing us to abort several runs in a frightening fashion as the car felt ready to come around and out of our hands.


Note that the before testing was done before the ROUSH conversion. We saved our Pirelli tires and stock wheels to use specifically for autocross and this test, and we're sure to compare the tire pressure to make this test as accurate as possible. Notice how much less body roll there is in the front. While the rear still has some roll, it is reduced, and we have it dialed in where we want it for now to keep the back end of the car rotating properly.
After the sway bar install, on the autocross the car is more planted in a hard corner. Running the slalom you can feel the increase in grip in the front end, while the rear still rotates predictably. We’ve noticed that we can carry greater speed when entering a corner and maintain a much cleaner line. This translate into a car that not only feels better on the track and the street, but also one that responds better in an emergency manuver like avoiding a road hazard. We have both bars on their middle setting, and we may stiffen the front to its maximum position, however, we’re quite happy with the rear, it allows the car to transfer weight appropriately while rotating around sharp turns, we can still kick the rear end a bit with our right foot and some judiciously applied throttle when needed as well.
Performing our post-install testing at NCM, we picked up .11 lateral G, jumping to a 1.09 peak, that’s a ton of grip! For those of us better versed in drag racing, that’s almost like going from running 10-second quarter-mile times to running low 9’s. Now THAT is impressive. We’re quite happy with our new BMR sway bars and we’re looking forward to throwing the rest of their catalog out our EcoBoost very soon.